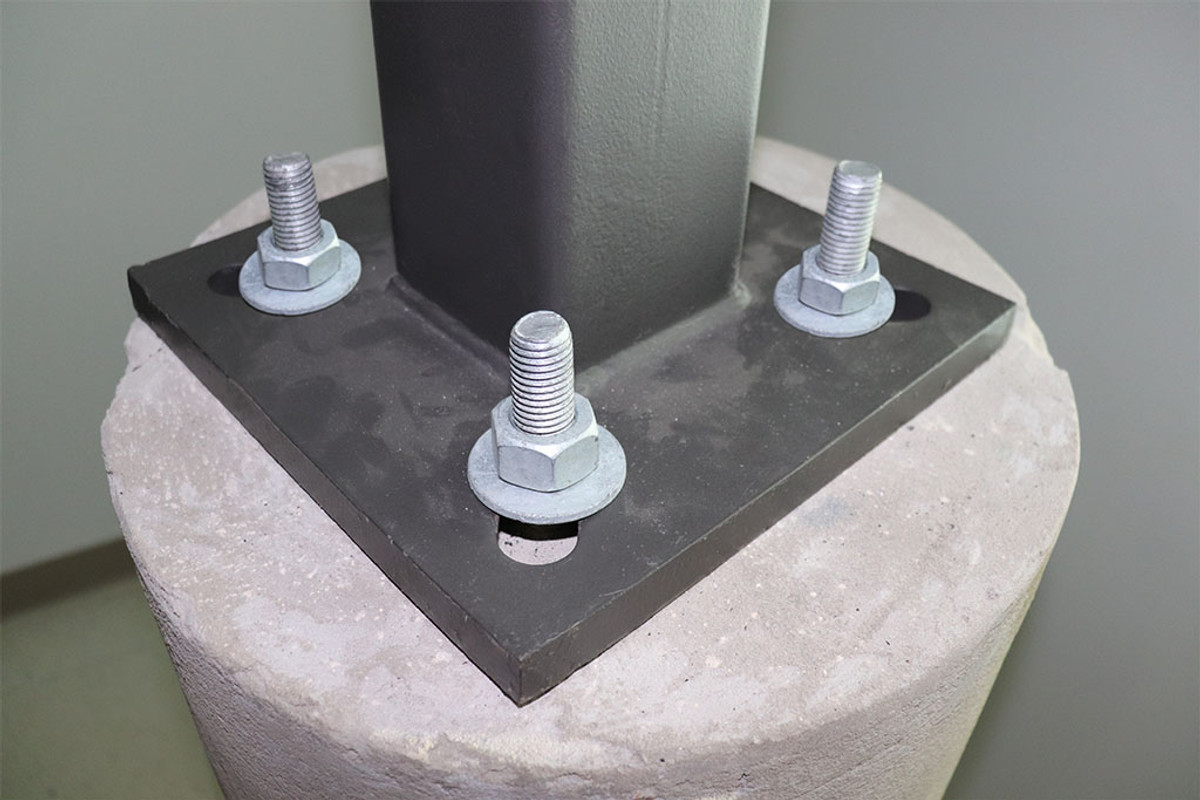
So, it’s time to start a new project, and you need light poles for a parking lot, a baseball field, or a tennis court. Whatever the reason, it’s essential to ensure you’ve selected the correct poles for the project. We’ll walk you through some of the biggest problems when selecting poles for preexisting anchor bolts.
Assessing the Base & Anchor Bolts
First, inspect the anchor bolts and make sure they’re in good shape. Make sure to clean any rust or debris from the bolts. Next, you will want to determine the size of the bolt pattern. There are two ways to measure the bolt pattern. You can measure the bolt circle or the bolt square, and both will help determine the bolt pattern accurately.
The bolt circle can be determined by measuring the distance between two diagonal bolts (see diagram A). To find the bolt square, measure the distance between two adjacent bolts. When measuring the bolts, make sure to measure from the center of one bolt to the center of the next bolt. It’s essential to measure both the bolt circle and bolt square because bolts may bend over time. Having both measurements will ensure that the base of your pole will match up with the bolts in the concrete.

Anchor Bolt Size is Important
Another issue you may run into is the size of the anchor bolts. You will want to make sure you know the diameter size of the bolts before selecting your pole. If your pole cannot accommodate a larger diameter bolt, you may need to enlarge the holes in the base of the pole. Bolt projection is also an essential factor. The bolt projection is how far the bolt stands out of the concrete (see diagram B). If the bolts are not tall enough to secure the pole, then a bolt extender, like item #TE175 , can be one way to work around the problem. When purchasing poles, make sure to check the size of the anchor bolts and the minimum bolt projection; both can be found on the specifications of the pole.

Making sure you confirm the bolt pattern, the bolt size, and the bolt projection will help ensure that you select the correct pole for the project. But what happens if you get to the worksite and the pole doesn’t fit the bolts already in the concrete?
We have four solutions that might solve the problem—each has pros and cons.
Substitution
- This is a very straightforward solution; switch it for the correct pole if the wrong pole was ordered. Measuring carefully and double-checking will prevent delays in receiving the replacement pole. Use this Existing Anchorage Verification Form to ensure proper measurements when ordering your replacement pole.
Bolt Adaptor
- You can purchase a bolt adaptor like our item #AABA, which is placed over existing bolts to provide a larger or smaller bolt circle pattern. This option will add extra height to the pole base, which will cause your standard pole base cover not to fit. #1829 Tall Pole Base Cover can resolve the issue and is one of the fastest and easier solutions.
Epoxy Adhesive
- Cut the existing bolts down and drill new holes. Then use an adhesive like the Hilti Epoxy Adhesive to secure the new bolts in the recently drilled holes.
New Foundation
- Start from scratch and pour a new concrete foundation; this will enable you to set the bolts and bolt circle properly to work with the pole you received; this is a time-consuming and expensive alternative.
Check out our YouTube channel to learn more about the light pole installation process. In addition, our custom installation gallery can help you in planning your next lighting project!
If you have any additional product-related questions concerning parking lot lighting, send us an email or call us at (800) 443-8254. We’d be happy to help!
